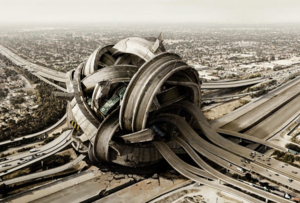
“My passport photo is one of the most remarkable photographs I have ever seen - no retouching, no shadows, no flattery - just stark me” - unknown
"If you want reality take the bus." - David LaChapelle
"People say photographs don't lie, mine do." - David LaChapelle
 |
| © Erwin Olaf |
 |
| © Eugenio Recuenco |
 |
| © Amoeba Digital Imaging ? |
 |
| © Mark Holthusen |
 |
| © Randal Ford |
Layer Masks
White = Reveals elements of the layer
Black = Masks elements of the layer
Layer Masks - Tips and Tricks:
·
Make a Selection and create a new Adjustment Layer = automatic
Layer Mask
·
Paint with White or Black or even Gray on a Layer
Mask. When a layer mask is selected in the Layers Palette, painting in the image
window with White Reveals the pixels of the layer the layer mask
is linked to, while painting with any opacity of Gray partly shows the layer, and painting with Black Masks the pixels of that layer. Pixels are never erased, they are just temporarily masked. You can always reveal them again by
painting with white!
Nondestructive and infinitely editable!!!
·
Click the Link Icon between the image layer thumbnail and the Layer Mask thumbnail to move
the pixels or layer mask independently from one another
·
Select > Refine Mask - with a Layer Mask selected in the Layers Palette, you can refine the
edges of a layer mask (not just a selection!)
·
Command H to Hide your marching ant selection edges temporarily while
using Standard Mode in the Refine Mask dialogue box
·
Command-Click
any image layer or layer mask to automatically select the pixels on that layer,
or the white area of a layer mask.
(Shift+Command-Click to add, or Option+Command-Click multiple image
layers or layer masks to add or subtract from a selection.
 |
| Replacing Color and Converting to B&W |